
The Honeywell TH8320U1008 installation manual is a comprehensive guide for setting up your programmable thermostat. It ensures proper installation, configuration, and maintenance for optimal performance and efficiency.
Overview of the Honeywell TH8320U1008 Thermostat
The Honeywell TH8320U1008 is a touchscreen programmable thermostat designed for energy efficiency and precise temperature control. It supports up to 3 Heat/2 Cool stages and is compatible with various HVAC systems. Its large, clear display and menu-driven programming simplify setup and operation, making it a user-friendly solution for modern home comfort needs.
Importance of the Installation Manual
The installation manual is crucial for correct setup and operation of the Honeywell TH8320U1008 thermostat. It provides step-by-step instructions, safety guidelines, and troubleshooting tips, ensuring a safe and efficient installation. Adhering to the manual prevents system damage and guarantees optimal performance, making it essential for both installers and users to follow its guidance carefully.
System Requirements and Compatibility
The Honeywell TH8320U1008 thermostat is compatible with 24 Vac heating and cooling systems or 750 mV heating systems. It supports up to 3 Heat/2 Cool stages, ensuring flexibility for various HVAC configurations. The manual outlines specific voltage, wiring, and system requirements for proper installation and functionality.
Supported Heating and Cooling Systems
The Honeywell TH8320U1008 supports up to 3 Heat/2 Cool stages for heat pumps or conventional systems. It is compatible with dehumidification, humidification, or ventilation systems, offering flexibility for various HVAC setups. The thermostat works with 24 Vac systems or 750 mV heating systems, ensuring adaptability for different home configurations and energy requirements.
Voltage and Power Requirements
The Honeywell TH8320U1008 operates on 24 Vac or 750 mV systems. Batteries are optional for backup power if wired to AC. Install fresh batteries immediately when needed to ensure uninterrupted operation and maintain programming during power outages.
Terminal Configurations and Wiring
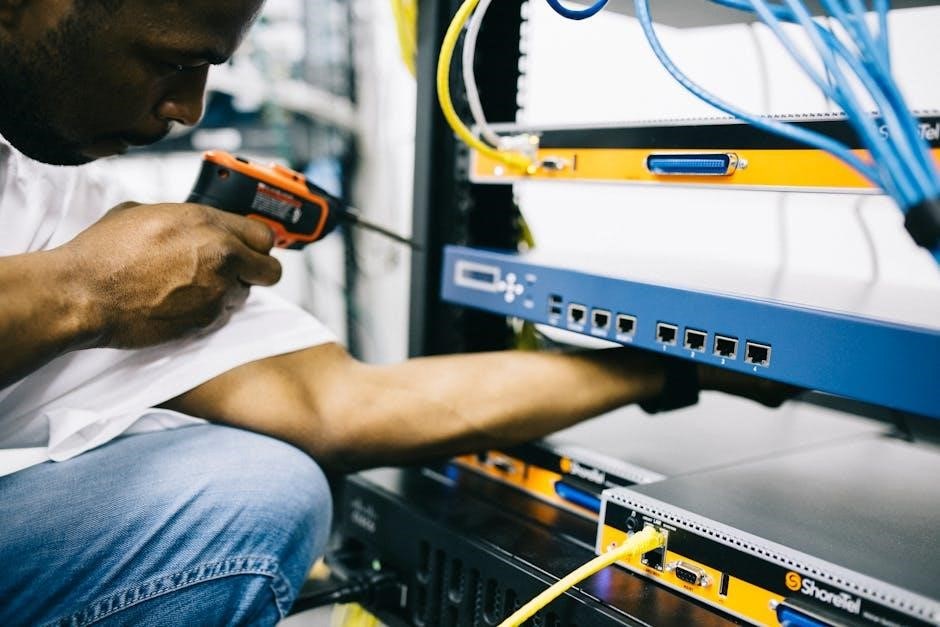
The Honeywell TH8320U1008 requires proper terminal connections for heating, cooling, and power. The R terminal connects to the heating system’s secondary side. For dehumidification, wire the IAQ relay to the low-speed fan; In two-transformer systems, remove the factory-installed jumper. Ensure all wires are securely connected to avoid malfunctions and ensure safe operation.
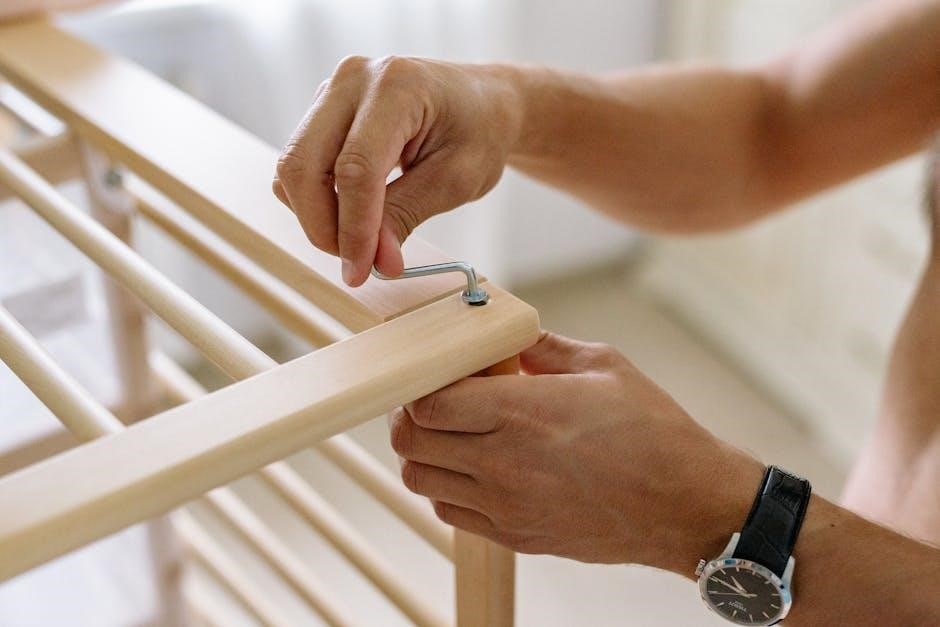
Pre-Installation Checklist
Before installation, ensure power is disconnected, gather tools, and verify system compatibility. Remove the old thermostat and prepare the area for the new setup.
Gathering Necessary Tools and Materials
To begin installation, gather essential tools: a screwdriver, pliers, wire strippers, and a drill with bits. Ensure you have wall anchors, screws, and any additional materials specified in the manual. Having all components ready ensures a smooth and efficient setup process without delays.
Disconnecting Power and Safety Precautions
Always disconnect power to the HVAC system before starting installation. Switch off the circuit breaker or remove fuses to ensure safety. Verify power is off using a voltage tester. Handle electrical components carefully to avoid damage or injury. Wear protective gear and follow all safety guidelines outlined in the manual to prevent hazards. Manufacturer instructions must be prioritized for a safe setup.
Removing the Old Thermostat
Gently pull the old thermostat away from the wallplate. Avoid damaging wires or the wall. Disconnect wires carefully, noting their connections. Remove any screws securing the thermostat. Once detached, cover exposed wires and marks on the wall with a plate or cover to protect them during the installation process.
Wallplate Installation
Separate the wallplate from the thermostat and mount it securely. Drill holes based on wall type (drywall or plaster) and ensure the plate is level before securing it.
Separating the Wallplate from the Thermostat
To separate the wallplate, grasp the top and bottom firmly and pull gently to disengage it from the thermostat. This step is crucial for accessing wiring connections and ensures proper installation. Always ensure power is disconnected before proceeding to avoid any electrical risks or damage to the system.
Mounting the Wallplate
Mount the wallplate by drilling 3/16-inch holes for drywall or 7/32-inch holes for plaster. Ensure the wallplate is level before securing it with the provided screws. This step provides a stable base for the thermostat, ensuring proper functionality and alignment. Always follow the manufacturer’s guidelines for secure installation.
Connecting Wires to the Wallplate
Connect the wires to the wallplate terminals, ensuring each wire matches the correct terminal label (e.g., R, W, Y, G, C). Secure the connections firmly to prevent loose wires. Double-check the wiring configuration to avoid mismatches, which could disrupt system operation. Proper connections ensure reliable thermostat performance and safe system functionality. Always refer to the manual for specific terminal assignments.
Wiring the Thermostat
Proper wiring ensures safe and efficient thermostat operation. Match each wire to the correct terminal label and secure connections tightly. Always follow the manual’s instructions for accurate setup and to avoid potential issues.
Identifying Terminal Letters and Their Functions
Each terminal (R, W, Y, G, C, etc.) corresponds to specific HVAC system functions. Match wires to correct terminals as per the manual to ensure proper system operation. Incorrect connections can lead to malfunctions or safety hazards. Refer to the terminal chart in the manual for accurate wiring configurations and functions.
Connecting Wires to the Thermostat Terminal
Connect wires to the thermostat terminals by matching each wire to the correct terminal (R, W, Y, G, C, etc.) as per the HVAC system’s configuration. Ensure proper connections to avoid malfunctions or safety risks. Refer to the manual for specific wiring instructions and double-check connections before powering on the system.
Configuring the IAQ Relay for Dehumidification
Configure the IAQ relay for dehumidification by setting it to normally open or normally closed, depending on your HVAC system. Wire the IAQ relay to the low-speed fan for proper dehumidification control. Refer to the manual for specific instructions to ensure correct setup and optimal performance. Backup power via batteries is optional if using AC.
Thermostat Configuration
Configure your thermostat by selecting system type, heat/cool stages, and scheduling preferences. Use the menu-driven interface for easy setup, ensuring optimal performance and energy efficiency.
Setting the Time and Date
Access the menu to set the time and date accurately. Use the touchscreen to navigate to the clock settings, select the correct time format, and adjust as needed. Ensure the date is set properly for scheduling functionality. Accurate time and date settings are crucial for proper thermostat operation and programmed schedules.
Selecting the System Type and Stages
Access the menu to select the system type (heat pump or conventional) and configure the number of heating and cooling stages. Choose up to 3 heat and 2 cool stages for optimal performance. Proper selection ensures the thermostat operates efficiently with your HVAC system, aligning settings with its capabilities for precise temperature control.
Configuring Heat and Cool Settings
Set temperature ranges, differential, and timing for heating and cooling. Use the menu to adjust heat and cool settings according to your preferences. Ensure the temperature range is appropriate for your system and adjust the timing for accurate temperature control. Proper configuration ensures efficient operation and maintains comfort levels consistently.
Testing the Installation
Power on the thermostat and verify basic operations. Check heating, cooling, and system transitions. Ensure all functions operate correctly and settings are responsive for optimal performance.
Powering On the Thermostat
After installation, ensure the thermostat is properly connected to power. If using batteries, install fresh ones. Turn on the system at the circuit breaker. The display should light up, showing the time and temperature. Verify all buttons and functions respond correctly. If issues arise, consult the manual for troubleshooting steps.
Checking Basic Operations
After installation, power on the thermostat and ensure the display shows the current time and temperature. Test all buttons to confirm they respond correctly. Check the fan and system operations to ensure they cycle on and off as commanded. Verify there are no error messages. If issues arise, consult the manual for troubleshooting steps.
Verifying System Performance
After installation, verify the system’s heating and cooling functions by running a full cycle. Ensure the thermostat accurately maintains the set temperature and stage changes occur as programmed. Check for consistent airflow and proper dehumidification or ventilation if configured. Confirm all programmed schedules and settings operate smoothly without errors or delays.
Programming the Thermostat
Program schedules and settings using the menu-driven interface. Set temperature preferences, enable dehumidification, and configure ventilation for energy efficiency and comfort.
Menu-Driven Programming Features
The Honeywell TH8320U1008 features an intuitive menu-driven interface, simplifying the programming process. Users can easily navigate through options to set schedules, temperature preferences, and system configurations.
This design ensures effortless setup and customization, allowing for precise control over heating, cooling, and ventilation systems. The interface streamlines adjustments for optimal energy efficiency and comfort.
Setting Up Schedules
The Honeywell TH8320U1008 allows users to create custom schedules for heating and cooling. Program temperature settings for different times of the day, including weekdays and weekends. This feature enhances energy efficiency by automating system operation based on your daily routine, ensuring comfort while optimizing energy usage and reducing waste.
Enabling Dehumidification and Ventilation
Enable dehumidification and ventilation through the IAQ Relay configuration. This feature allows control of humidity levels and fresh air circulation. Proper setup ensures balanced indoor air quality and system efficiency. Follow the manual’s guidelines to configure these settings accurately for optimal home comfort and energy savings year-round.
Troubleshooting Common Issues
Address common issues like blank screens, incorrect temperature readings, or communication errors. Refer to the manual for diagnostic steps and solutions to ensure proper thermostat functionality.
Blank Screen or No Response
A blank screen or no response indicates a potential power issue. Check if batteries are installed correctly or if the thermostat is properly connected to power. Ensure wires are securely attached and no loose connections exist. Resetting the thermostat by removing batteries or power for 30 seconds may resolve the issue;
Incorrect Temperature Readings
Incorrect temperature readings can occur due to calibration issues or sensor malfunctions. Check the calibration settings in the manual. Ensure the thermostat is mounted level and away from direct sunlight or heating vents. Verify all wires are secure and there’s no power fluctuation. If issues persist, consult the manual for troubleshooting steps.
Communication Errors
Communication errors may occur if the thermostat loses connection with the system. Check the display for error codes and ensure all wires are securely connected. Verify the IAQ relay configuration and power supply. If issues persist, restart the thermostat or consult the manual for advanced troubleshooting steps to restore functionality.
Maintenance and Care
Regularly clean the thermostat screen and check for dust buildup. Replace batteries as needed and update software for optimal performance and functionality.
Cleaning the Thermostat
Regularly clean the thermostat screen and housing with a soft, dry cloth to remove dust and debris. Avoid harsh chemicals or liquids, which may damage the display; Turn off power before cleaning for safety. Ensure the screen is dry to prevent moisture damage and maintain accurate temperature readings.
Replacing Batteries
Check if your Honeywell TH8320U1008 model requires batteries. Purchase AA alkaline batteries for backup power. Power down the thermostat, remove it from the wallplate, and access the battery compartment on the back. Install new batteries, ensuring correct terminal alignment. Reattach the thermostat and verify the display. Refer to the manual for specific instructions.
Updating Software
Regular software updates ensure optimal performance and new features for your Honeywell TH8320U1008 thermostat. Check Honeywell’s official website for the latest updates. Download the update file, transfer it to a USB drive, and insert it into the thermostat’s USB port. Follow on-screen instructions to complete the update. Ensure the thermostat remains powered on during the process.
Safety Precautions
Always disconnect power before starting installation. Follow proper electrical safety practices and manufacturer guidelines to avoid hazards. Ensure the installation is performed by a trained technician.
Proper Installation Practices
Adhere to all safety guidelines and manufacturer instructions during installation. Ensure the thermostat is mounted correctly and wires are securely connected to avoid system malfunctions. Use appropriate tools and follow step-by-step instructions to guarantee a safe and efficient setup. Proper installation ensures optimal performance and prevents potential hazards.
Handling Electrical Components Safely
Always disconnect power before handling electrical components. Use appropriate tools and avoid touching live wires. Ensure all connections are secure and follow manufacturer guidelines to prevent electrical hazards. Proper handling ensures safety and prevents damage to the thermostat or connected systems.
Following Manufacturer Guidelines
Adhering to Honeywell’s instructions ensures proper installation, safety, and system compatibility. Deviating from guidelines can lead to malfunctions or hazards. Always follow recommended steps for wiring, configuration, and safety precautions to guarantee optimal performance and reliability of your Honeywell TH8320U1008 thermostat;
The Honeywell TH8320U1008 installation manual provides a clear pathway to successful thermostat setup. Follow the guide for energy efficiency, optimal performance, and hassle-free temperature control. Refer to the manual for future adjustments and troubleshooting to ensure continued reliability and functionality of your thermostat.
Final Checks and Verification
After installation, perform final checks to ensure all systems function correctly. Verify thermostat operation, system performance, and wiring connections. Test heating, cooling, and dehumidification modes. Confirm time, date, and schedules are set. Check for any error messages and ensure the thermostat is properly powered. Refer to the manual for troubleshooting if issues arise.
Ensuring Optimal Performance
Regularly clean the thermostat’s screen and check wire connections. Update software for the latest features and bug fixes. Reset the system after updates to ensure proper functionality. Configure the IAQ relay for dehumidification and ventilation. Verify all settings align with your system requirements. Refer to the manual for future adjustments.
Referencing the Manual for Future Adjustments
The Honeywell TH8320U1008 manual is essential for future adjustments, offering detailed guides for system configurations and troubleshooting. Downloadable as a PDF, it provides easy access to instructions for optimizing performance. Regularly reviewing the manual ensures compliance with manufacturer guidelines and helps resolve issues efficiently. Contact Honeywell support for additional assistance.