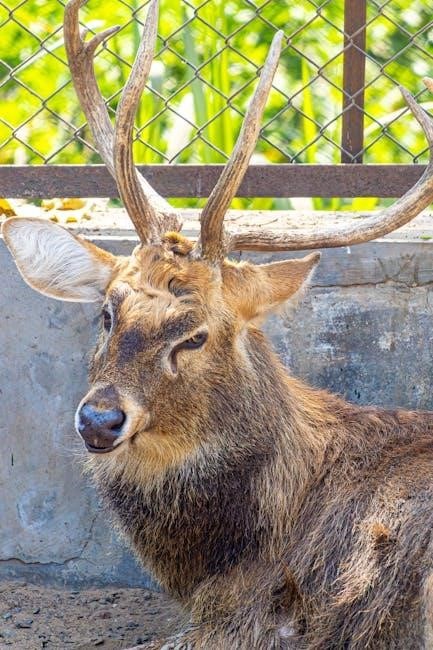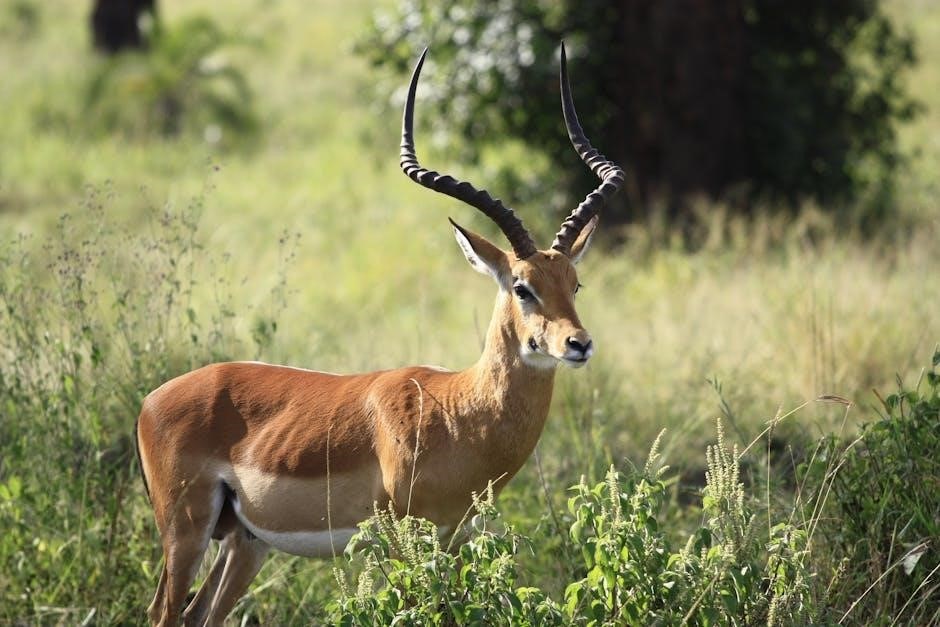
Guided antelope hunts offer a structured, professional experience, led by knowledgeable guides familiar with terrain and animal behavior, ensuring a higher success rate and memorable adventure.
1.1 What Are Guided Antelope Hunts?
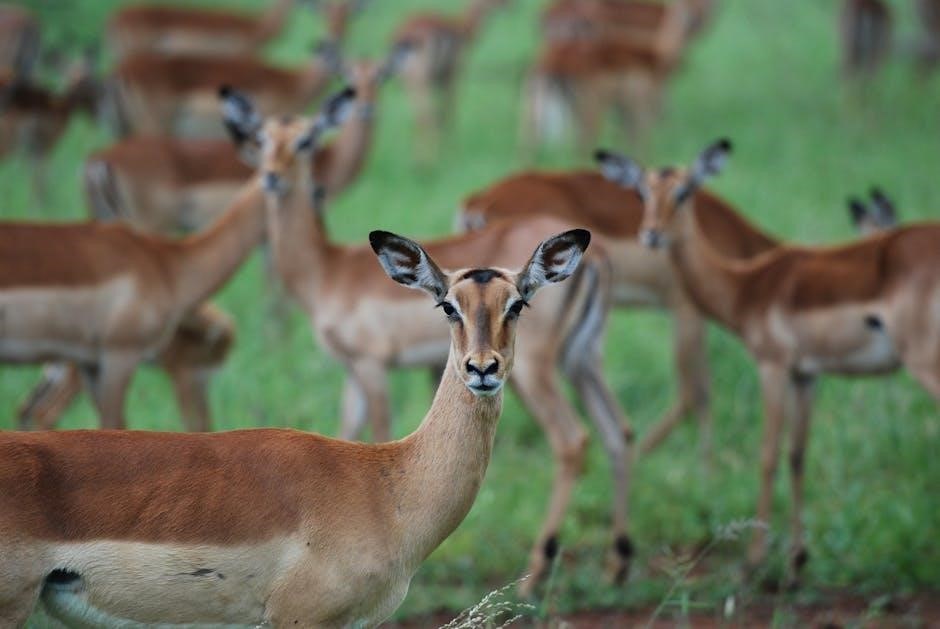
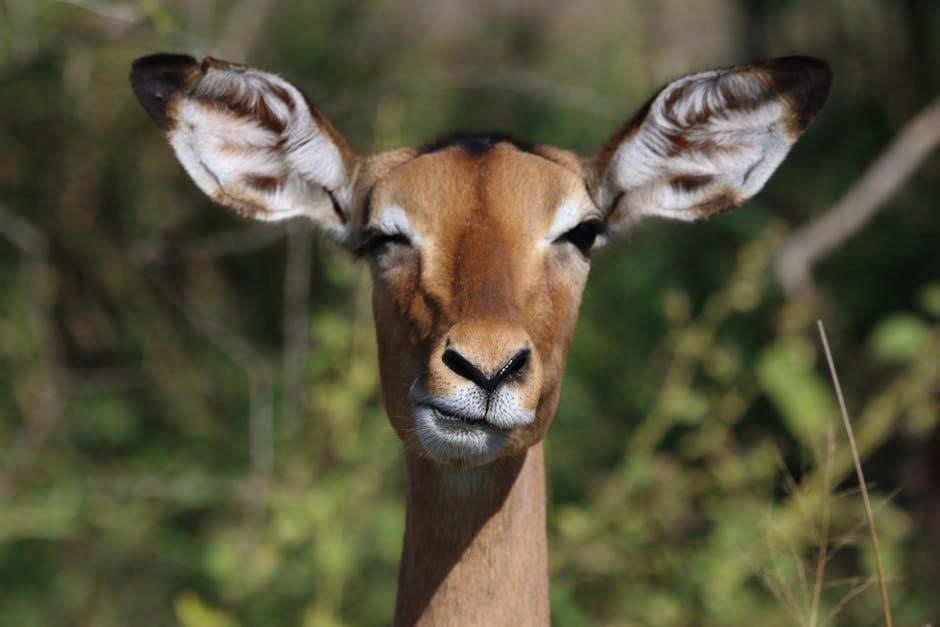
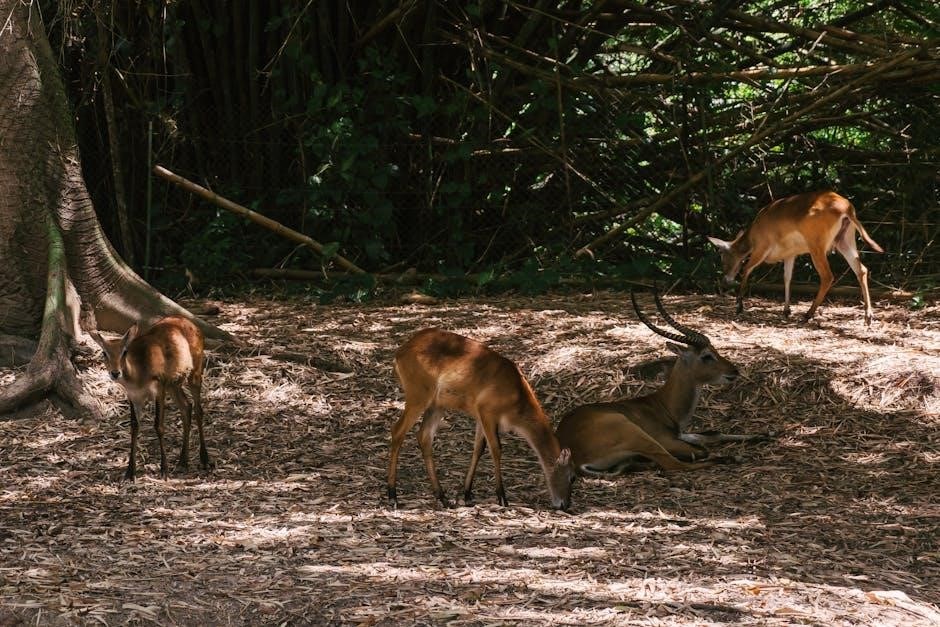
Guided antelope hunts are organized expeditions led by experienced guides, offering hunters a structured and strategic approach to pursuing antelope. These hunts typically include planned itineraries, access to private or prime hunting lands, and expert knowledge of antelope behavior and habitats. Guides handle logistics, such as scouting, setting up blinds, and tracking, allowing hunters to focus on the hunt itself. This format is ideal for both novice and seasoned hunters, as it increases success rates and ensures a memorable experience. The guides’ local expertise often proves critical in locating and harvesting antelope effectively.
1.2 Why Choose a Guided Hunt Over a DIY Hunt?
Choosing a guided hunt over a DIY hunt offers numerous advantages, particularly for those new to antelope hunting. Guides provide invaluable local knowledge, including optimal hunting locations, animal behavior insights, and terrain expertise, significantly increasing the likelihood of success. Additionally, guided hunts handle logistics such as permits, equipment, and land access, reducing the burden on hunters. Their experience in tracking and strategizing also enhances the overall hunting experience, ensuring a safer and more efficient hunt. This support allows hunters to focus on their skills and enjoyment, making the experience both productive and rewarding.
Preparing for a Guided Antelope Hunt
Preparing for a guided antelope hunt involves mental readiness, understanding terrain, and building stamina, ensuring hunters are equipped to handle the physical and logistical demands effectively.
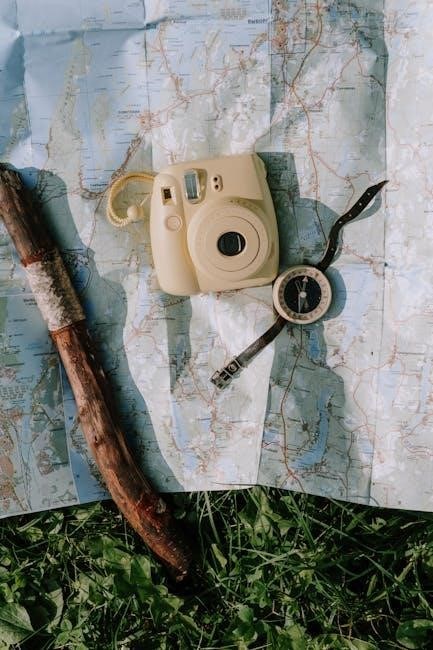
2.1 Essential Gear and Equipment
For a successful guided antelope hunt, essential gear includes a high-quality rifle with a scope, 130-grain bullets for optimal performance, and comfortable, durable clothing suited for varying weather conditions. Sturdy boots, binoculars, and a rangefinder are crucial for spotting and tracking. Archery hunters should bring a reliable bow and arrows. Blinds or tree stands may be provided by guides, but bringing personal gear ensures familiarity. Don’t forget optics, a first-aid kit, and hydration supplies. Proper field dressing tools and coolers for meat handling are also important post-harvest.
2.2 Physical and Mental Preparation
Physical conditioning is crucial for guided antelope hunts, as they often involve long hikes and stamina demands. Building endurance through cardio exercises and strength training is essential. Mental resilience is equally important, as hunting requires focus, patience, and adaptability. Practicing with your gear ensures familiarity and confidence. Understanding the terrain and animal behavior mentally prepares you for the challenges ahead. A positive mindset and ability to stay calm under pressure are vital for success. Proper preparation enhances both safety and the overall hunting experience.
Costs and Funding
Guided antelope hunts typically range from $3,000 to over $10,000, depending on location, duration, and services. Additional costs include licenses, permits, and gear.
3.1 Total Cost of a Guided Antelope Hunt
A guided antelope hunt typically ranges from $2,000 to $5,000 or more, depending on location, duration, and services. This cost often includes guide fees, permits, and access to private or public lands. Additional expenses may cover gear rentals, meals, and accommodations. Some hunters opt for DIY hunts, which can cost around $82 for permits, but guided hunts offer expertise and higher success rates. Prices vary by state and outfitter, with premium packages offering luxury amenities. Researching specific outfitters and their packages is essential for accurate budgeting.
3.2 Tipping Etiquette for Guides and Staff
Tipping is a customary way to show appreciation for guides and staff during guided antelope hunts. The average tip ranges from 10% to 20% of the total hunt cost, depending on service quality. For example, a hunter paying $5,000 for a hunt might tip $500 to $1,000, split among guides, cooks, and wranglers. Tipping reflects satisfaction with their expertise, effort, and hospitality, making it a meaningful gesture for a successful and enjoyable experience. Ensure tips are given directly to deserving individuals or pooled for equal distribution.

Licensing and Regulations
Obtaining proper licenses is crucial, with requirements varying by state. Adhering to federal and state regulations ensures legal and ethical hunting practices, protecting both hunters and wildlife.
4.1 Obtaining the Necessary Licenses
Obtaining the necessary licenses for a guided antelope hunt is a critical step. Most states require a hunting license and a specific antelope tag, which can be obtained through a lottery or draw system. The cost typically ranges between $50 to $300, depending on residency and state regulations. Applications must be submitted well in advance, often months before the hunting season begins. It’s essential to check state-specific requirements, as some may require additional permits or certifications. Guides often assist clients with the licensing process to ensure compliance with local laws.
4.2 Understanding State and Federal Regulations
Understanding state and federal regulations is crucial for a legal and ethical guided antelope hunt. Each state has specific rules regarding season dates, bag limits, and permitted gear. Federal regulations may also apply, especially on public lands. Hunters must ensure they have the correct licenses and permits, as outlined by state wildlife agencies. Guides often help navigate these rules, but it’s essential for participants to familiarize themselves with local laws to avoid penalties. Adherence to regulations ensures sustainable hunting practices and protects both hunters and wildlife. Compliance is key to a successful and responsible hunt.
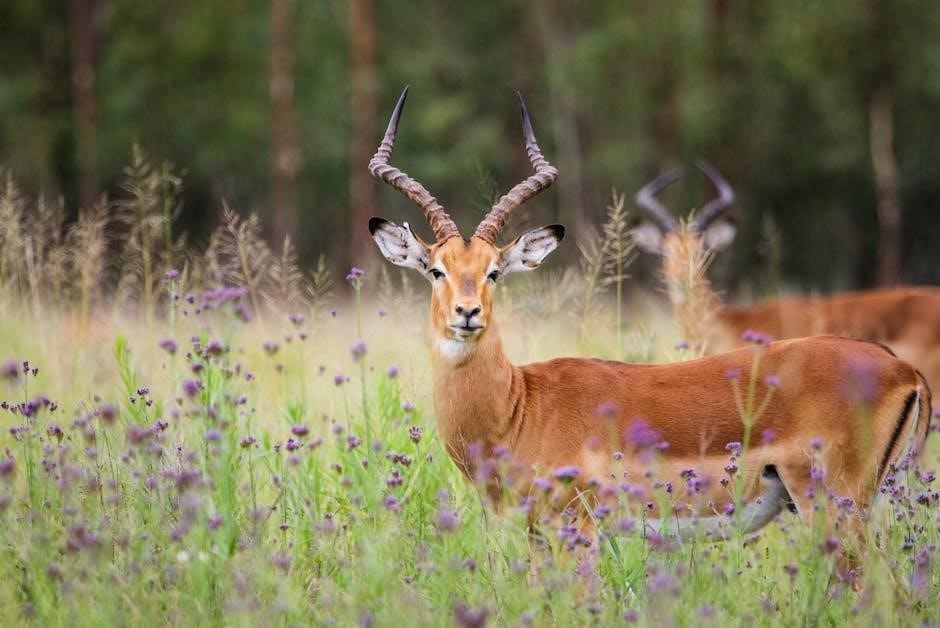
Popular Destinations for Guided Antelope Hunts
Wyoming and Montana are top destinations for guided antelope hunts, offering vast public and private lands with abundant herds. Experienced guides ensure a successful and memorable experience.
5.1 Top States for Antelope Hunting
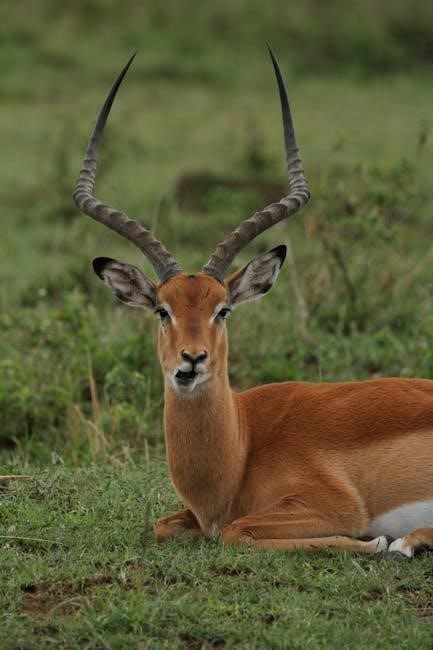
Wyoming, Montana, Arizona, Nevada, and New Mexico are premier destinations for guided antelope hunts. Wyoming offers vast open ranges and abundant pronghorn populations, while Montana provides scenic landscapes with trophy-sized bucks. Arizona’s desert habitats challenge hunters with elusive herds, and Nevada’s public lands offer ample opportunities. New Mexico’s mixed terrain ensures a diverse hunting experience. Each state boasts unique features, making them hotspots for both archery and rifle enthusiasts. Researching local regulations and securing permits early is crucial, as demand for tags can be high in these popular hunting regions.
5.2 Public vs. Private Land Hunting
Guided antelope hunts often take place on both public and private lands, each offering unique advantages. Public lands provide accessible, affordable opportunities, with vast areas managed by state or federal agencies. Private lands, while more exclusive, typically require leases or permits and may offer higher-quality habitats and trophy-sized antelope. Hunters must adhere to specific regulations for each type of land, ensuring sustainable practices. Public land hunting is cost-effective but may involve more competition, while private land offers a more controlled environment. Researching access rights and permits is essential for a smooth experience in either setting.

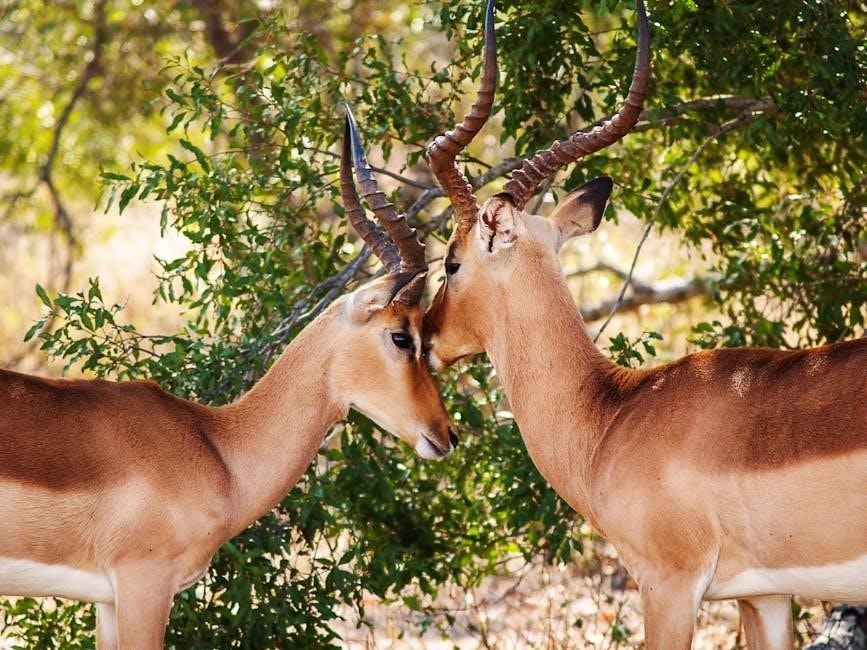
Hunting Strategies and Techniques
Guided antelope hunts employ proven strategies like scouting, stalking, and ambush tactics. Guides use their expertise to position hunters for optimal success, adapting to terrain and antelope behavior.
6.1 Archery vs. Rifle Hunting
Archery and rifle hunting offer distinct experiences for antelope hunters. Archery hunting requires precision and skill, with a shorter range and higher challenge, making it rewarding for experienced hunters. Rifle hunting, while more common, allows for longer-range shots and is often preferred for its effectiveness. Each method has its season, with archery seasons typically earlier to avoid overlapping with rifle hunts. Hunters must choose based on their skill level, physical stamina, and personal preference, ensuring they adhere to local regulations and gear requirements for a successful guided antelope hunt.
6.2 Effective Tactics for Success
Success in guided antelope hunts often hinges on careful planning and adaptability. Scouts typically locate herds in advance, while guides use their knowledge of terrain and animal behavior to position hunters effectively. Stalking requires patience, as antelope are highly alert and can spot movement from great distances. Using natural cover, such as rocks or vegetation, is essential. Hunters should also be prepared for long-range shots, as antelope often graze in open areas. Timing hunts during early morning or late evening, when animals are most active, increases chances of success. Practicing marksmanship and understanding wind conditions are also critical factors.
Post-Hunt Processes
Post-hunt processes involve field dressing, handling meat, and preparing trophies. Ethical practices ensure efficient use. Proper care prevents spoilage and respects the animal’s sacrifice.
7.1 Field Dressing and Meat Handling
Field dressing is crucial for preserving meat quality. Guides often demonstrate proper techniques to avoid contamination. Immediate cooling is essential, with ice used to maintain low temperatures. Proper handling prevents spoilage and ensures safe consumption. Hygiene and precision are emphasized during the process. Meat is typically stored in sealed containers or bags to retain freshness. Guides may also offer tips on aging and transportation. Efficient field dressing and handling ensure a successful harvest and enjoyable dining experience. Attention to detail in these steps is vital for both safety and flavor.
7.2 Taxidermy and Trophy Preparation
Taxidermy and trophy preparation require skill and attention to detail. Professional taxidermists preserve antelope hides and mounts, creating lifelike representations. Hunters often opt for shoulder mounts or full-body displays. Proper field handling ensures high-quality results. Guides may offer tips on initial skinning and care to prevent damage. Trophies are legally required to include permits for verification. Many hunters invest in professional services for lasting memories. Trophy preparation combines artistry and technical expertise, ensuring a stunning tribute to the hunt. Reputable taxidermists guarantee durable, realistic finishes for cherished mementos.
Guided antelope hunts offer unforgettable experiences, combining expert guidance, strategic techniques, and memorable adventures, ensuring a successful and enriching journey for hunters of all skill levels.
8.1 Final Thoughts on Guided Antelope Hunts
Guided antelope hunts provide a unique opportunity to connect with nature while leveraging expert knowledge for success. These experiences often combine thrilling adventure with ethical practices, ensuring a memorable journey. By trusting experienced guides, hunters maximize their chances of success and gain deeper insights into wildlife and terrain. Whether for trophy hunting or personal achievement, guided hunts foster a sense of accomplishment and respect for the outdoors. They also promote sustainable hunting practices, contributing to conservation efforts. Ultimately, a guided antelope hunt is more than just a hunt—it’s a transformative experience that leaves lasting memories and a deeper connection to the wild.