
Installing a Hunter ceiling fan enhances your space with style and functionality. This guide provides a comprehensive overview‚ ensuring a smooth and safe installation process. Follow the manual carefully for optimal performance and longevity of your fan.
Importance of Following the Manual
Following the Hunter fan installation manual is crucial for ensuring a safe‚ correct‚ and efficient setup. The manual provides detailed instructions tailored to your specific fan model‚ helping you avoid common mistakes that could lead to hazards or poor performance. By adhering to the guidelines‚ you can ensure compliance with safety standards and electrical codes‚ reducing the risk of accidents or damage. Proper installation as outlined in the manual also guarantees optimal fan performance‚ energy efficiency‚ and longevity. Additionally‚ failing to follow the instructions may void the warranty or compromise the fan’s functionality. The manual includes essential steps for assembly‚ wiring‚ and mounting‚ as well as troubleshooting tips for addressing potential issues. Always read the manual thoroughly before starting the installation process to familiarize yourself with the components and procedures. This careful approach ensures a professional-grade installation‚ even for DIY enthusiasts‚ and helps maintain the fan’s reliability for years to come.
Safety Guidelines and Precautions

Ensuring safety is paramount when installing a Hunter ceiling fan. Always turn off the power supply at the main electrical panel before starting the installation‚ and verify the power is off using a voltage tester. Never attempt to work on electrical systems while they are live‚ as this poses a significant risk of shock or injury. Use a sturdy ladder or step stool and maintain three points of contact to prevent falls. Wear protective gear‚ such as safety glasses and gloves‚ to safeguard against debris or accidental cuts. When handling wires‚ avoid touching bare conductors to prevent electrical shock. Secure the fan tightly to the ceiling mount to prevent wobbling or imbalance‚ which could lead to malfunction. Keep the area clear of flammable materials and avoid installing the fan near open flames or heat sources; Always follow local electrical codes and manufacturer recommendations to ensure compliance and safety. If unsure about any step‚ consult a licensed electrician to avoid potential hazards.

Preparing for Installation
Before starting‚ ensure you have all components from the box‚ including blades‚ mounting hardware‚ and instructions. Gather essential tools like a screwdriver‚ drill‚ and voltage tester. Prepare the installation site by clearing the area and ensuring power is off at the main panel.
Unpacking and Inventory of Components

Begin by carefully unpacking your Hunter ceiling fan to ensure all components are included and undamaged. Typically‚ the box contains the fan motor‚ blades‚ mounting hardware‚ and installation manual. Verify the presence of screws‚ washers‚ and any additional accessories like light kits or remote controls. Check for damage during shipping‚ such as bent blades or scratched finishes. Compare the contents with the component list provided in the manual to confirm nothing is missing. This step is crucial to avoid delays during installation. If any parts are damaged or missing‚ contact Hunter Fan support immediately. Once verified‚ organize the components neatly to streamline the installation process. Always refer to the manual for specific instructions on identifying and preparing each part. Proper inventory ensures a smooth and efficient setup of your Hunter ceiling fan.
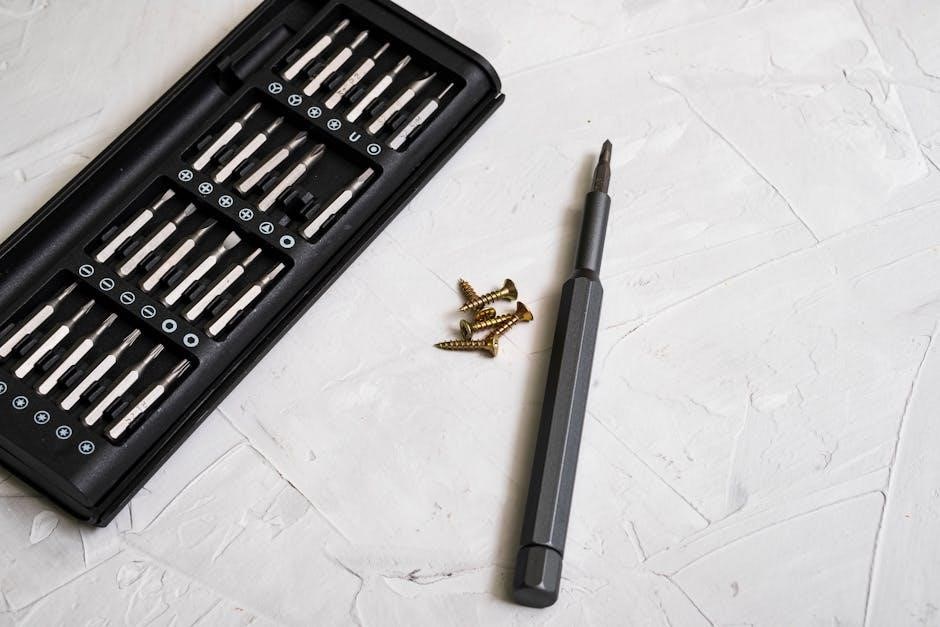
Essential Tools and Materials Needed
To ensure a successful installation of your Hunter ceiling fan‚ gather the necessary tools and materials beforehand. You will need a voltage tester‚ screwdrivers (both flathead and Phillips)‚ pliers‚ a drill with bits‚ and a sturdy ladder. A wire stripper may also be useful for wiring connections. Ensure you have all the hardware provided with the fan‚ such as mounting brackets‚ screws‚ and washers. For vaulted or angled ceilings‚ consider purchasing a Hunter Vaulted Ceiling Mounting Kit. A retention cable is recommended for added safety‚ especially in high or angled installations. Always verify that your drill bits and screws are compatible with your ceiling type. If installing a light kit‚ ensure you have the correct bulbs and any additional wiring components. Double-check that all tools and materials meet local electrical and safety standards. If any items are missing or damaged‚ contact Hunter Fan support before proceeding. Proper preparation ensures a smooth and efficient installation process.
Installation Process
The installation process involves securing the fan to the ceiling and connecting the wiring. Ensure the fan is mounted level and the electrical connections are made safely. Follow the manual step-by-step for a successful setup.
Mounting the Fan Securely
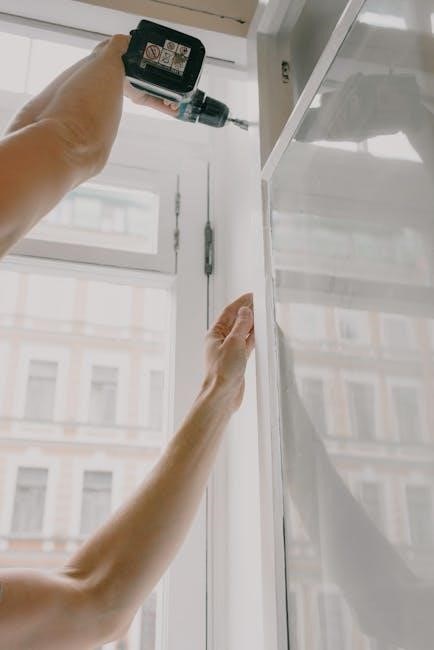
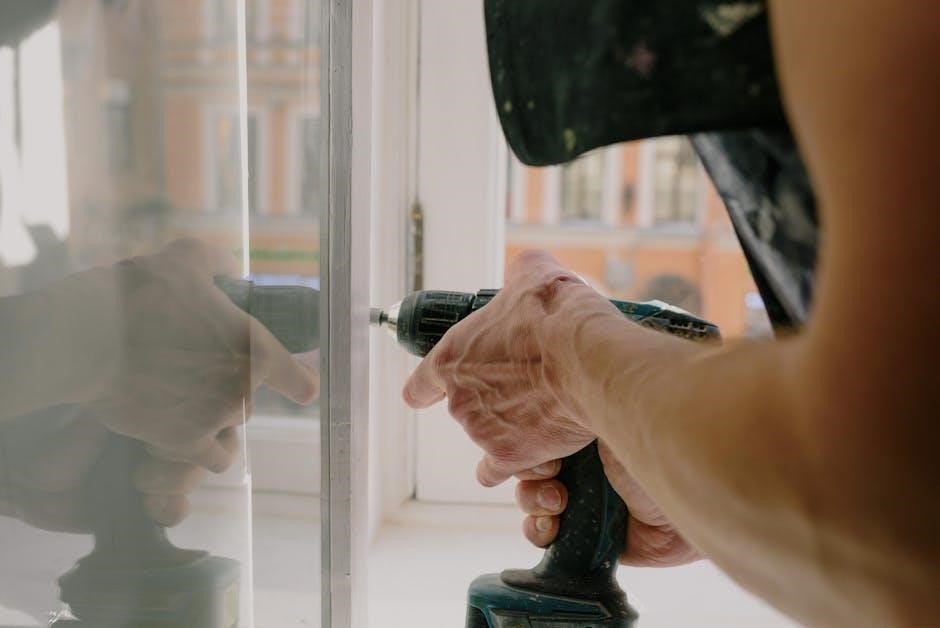
Mounting the Hunter fan securely is crucial for safe and efficient operation. Begin by determining the appropriate mounting type based on ceiling height and style. For standard 8-foot ceilings‚ use the provided hardware to hang the fan‚ ensuring blades are 12 inches from the ceiling and approximately 7 feet from the floor. On vaulted ceilings with up to a 45-degree pitch‚ install the Hunter Vaulted Ceiling Mounting Kit for stability. Locate the ceiling joist or suitable support to drill holes and secure the fan with wood screws. Ensure the mounting bracket is tightly fastened to prevent wobbling. For angled ceilings‚ use the adapters provided to maintain proper alignment. After assembling the fan‚ carefully lift it and attach it to the mounting bracket. Double-check all connections and tighten screws firmly. Finally‚ ensure the fan is level and balanced before proceeding to wiring. Proper mounting ensures longevity and prevents potential safety hazards. Always refer to the manual for specific hardware requirements and adjustments.
Wiring Connections and Electrical Setup
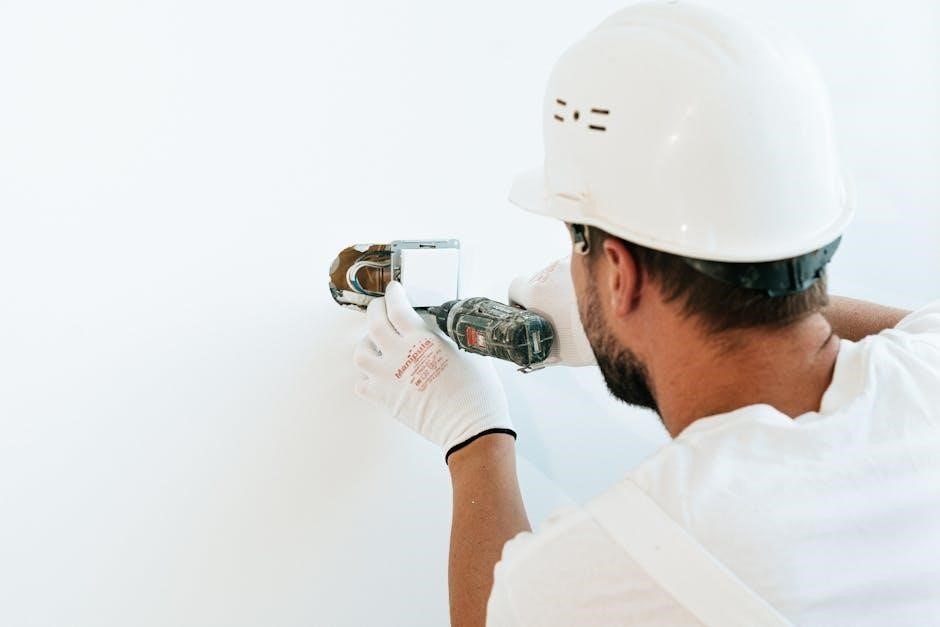
Proper wiring connections are essential for the safe and efficient operation of your Hunter fan. Begin by turning off the power at the main electrical panel before handling any wires. Identify the black (hot)‚ white (neutral)‚ and copper (ground) wires. Connect the fan’s black wire to the household black wire‚ and the white wire to the white wire. If your fan has a grounding wire‚ attach it to the copper grounding wire in the ceiling. For fans with lighting kits‚ follow the manual to connect the additional wires‚ typically marked for light operation. Ensure all connections are secure with wire nuts or connectors. If your fan includes a remote control or wall switch‚ refer to the manual for specific wiring instructions. After completing the connections‚ turn the power back on and test the fan’s operation. Always adhere to local electrical codes and safety standards. If unsure‚ consult a licensed electrician to avoid hazards. Proper wiring ensures smooth functionality and prevents electrical issues.
Post-Installation Procedures
After installation‚ turn the power back on and test the fan’s operation. Ensure all features function correctly. Refer to the manual for final adjustments and maintenance tips to prolong the fan’s lifespan.
Testing the Fan for Proper Function
Once the installation is complete‚ it’s crucial to test the fan thoroughly to ensure it operates smoothly and safely. Start by turning the power back on at the electrical panel. Then‚ use the remote control or wall switch to test all speed settings‚ ensuring the fan runs quietly and evenly at each level. If your fan has a light kit‚ verify that the lights turn on and off properly and adjust the dimmer if necessary.
Next‚ perform a visual inspection to check for any wobbling or uneven movement. If the fan blades appear unbalanced‚ refer to the manual for instructions on how to adjust them. Also‚ ensure there are no unusual noises‚ as this could indicate improper installation or loose parts.
Finally‚ review the manual for any specific troubleshooting steps if you encounter issues. Testing the fan thoroughly ensures it will provide reliable performance and comfort for years to come.
Final Checks and Adjustments
After completing the installation and testing‚ perform a final inspection to ensure everything is secure and functions correctly. Check all connections‚ including electrical wires and mounting hardware‚ to confirm they are tight and properly secured. Verify that the fan is level and plumb to prevent wobbling during operation.
Review the fan’s operation by running it through all speed settings and light functions. Ensure there are no unusual noises or vibrations‚ which could indicate loose screws or imbalanced blades. If necessary‚ adjust the fan blades for balance or tighten any components that may have come loose during testing.
Dispose of all packaging materials and tools‚ and store the installation manual in an accessible location for future reference. Finally‚ ensure all safety precautions are followed‚ such as keeping the fan out of reach of children and avoiding overheated areas. These final checks and adjustments guarantee your Hunter fan will operate safely and efficiently for years to come.